

Follow this guide to sync your Account Manager appointments with the Calendar app on your iPhone.
In Ticaga, open the Account Management Appointments Employee Dashboard to find your CalDAV connection details.
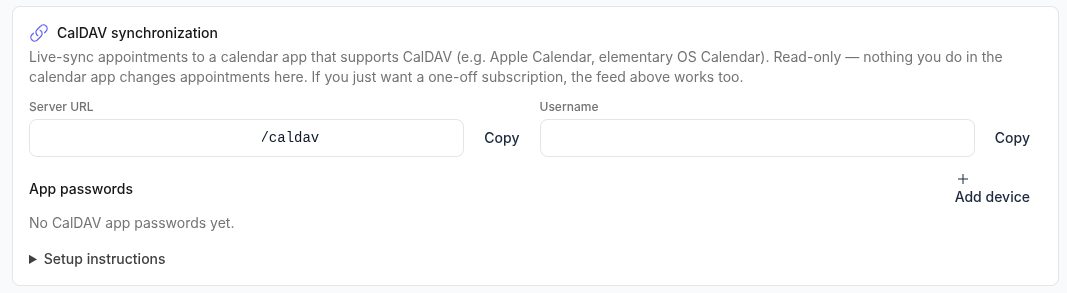
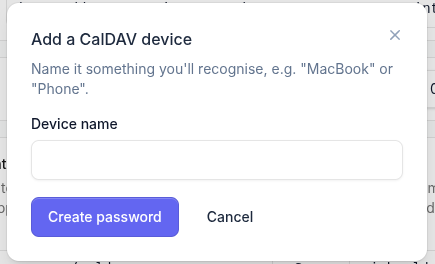
Click Add device to generate a secure, unique password for your iPhone. Use this password when setting up the account.
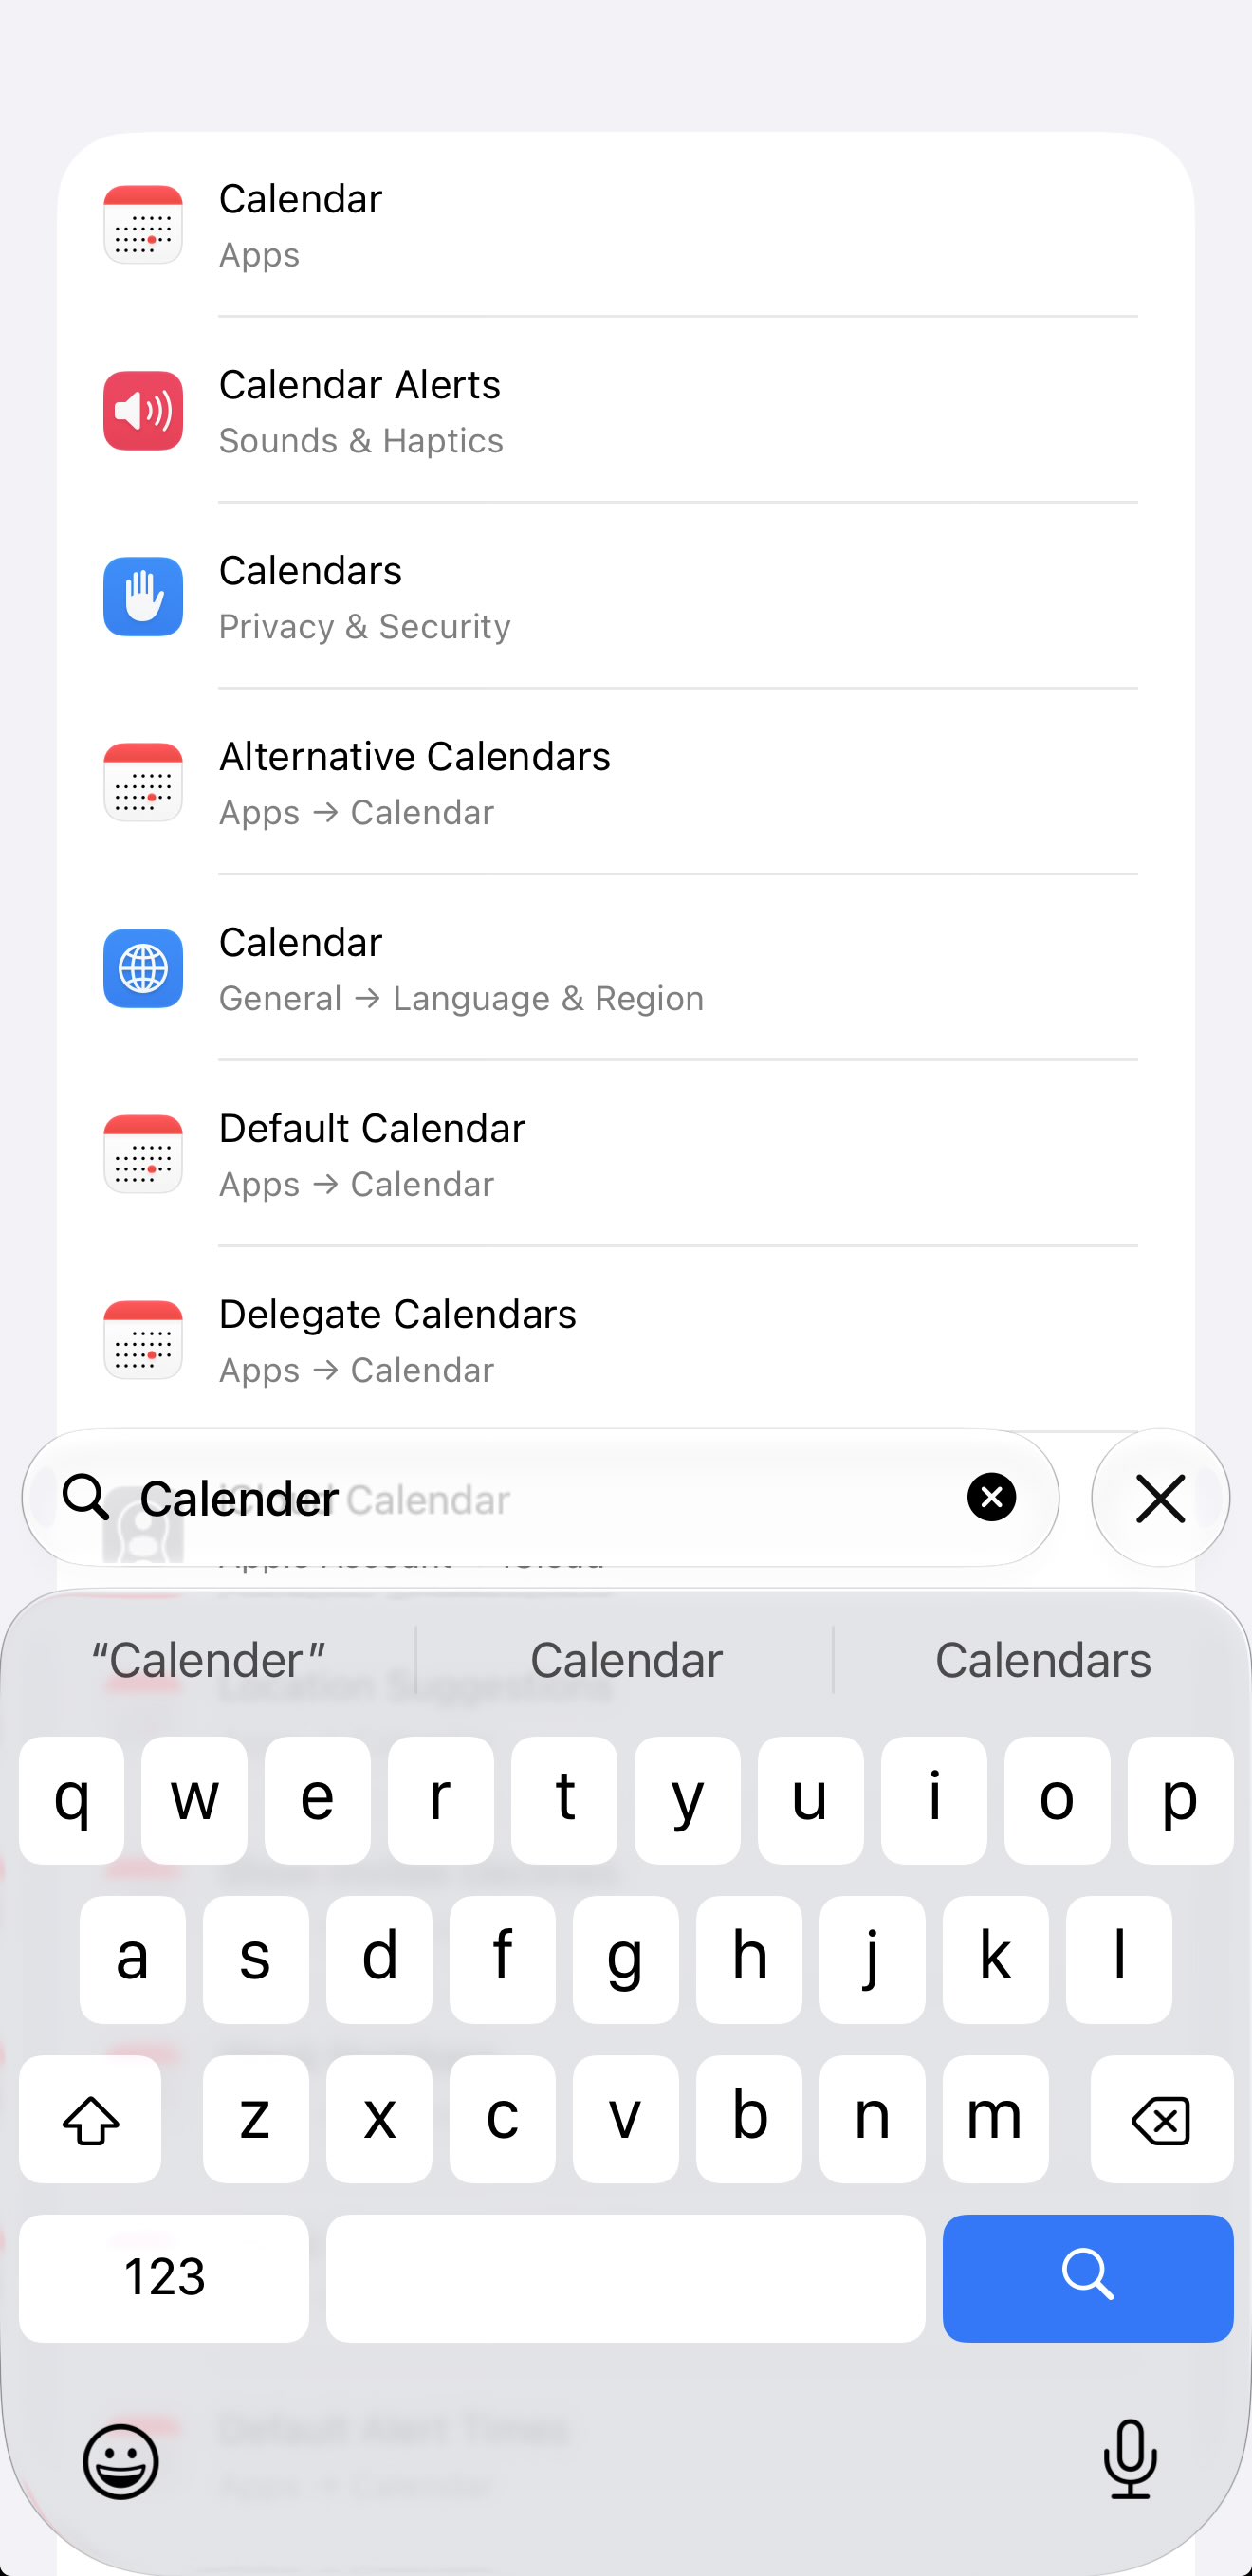
Open Settings → Apps → Calendar. You can also search for Calendar in Settings.
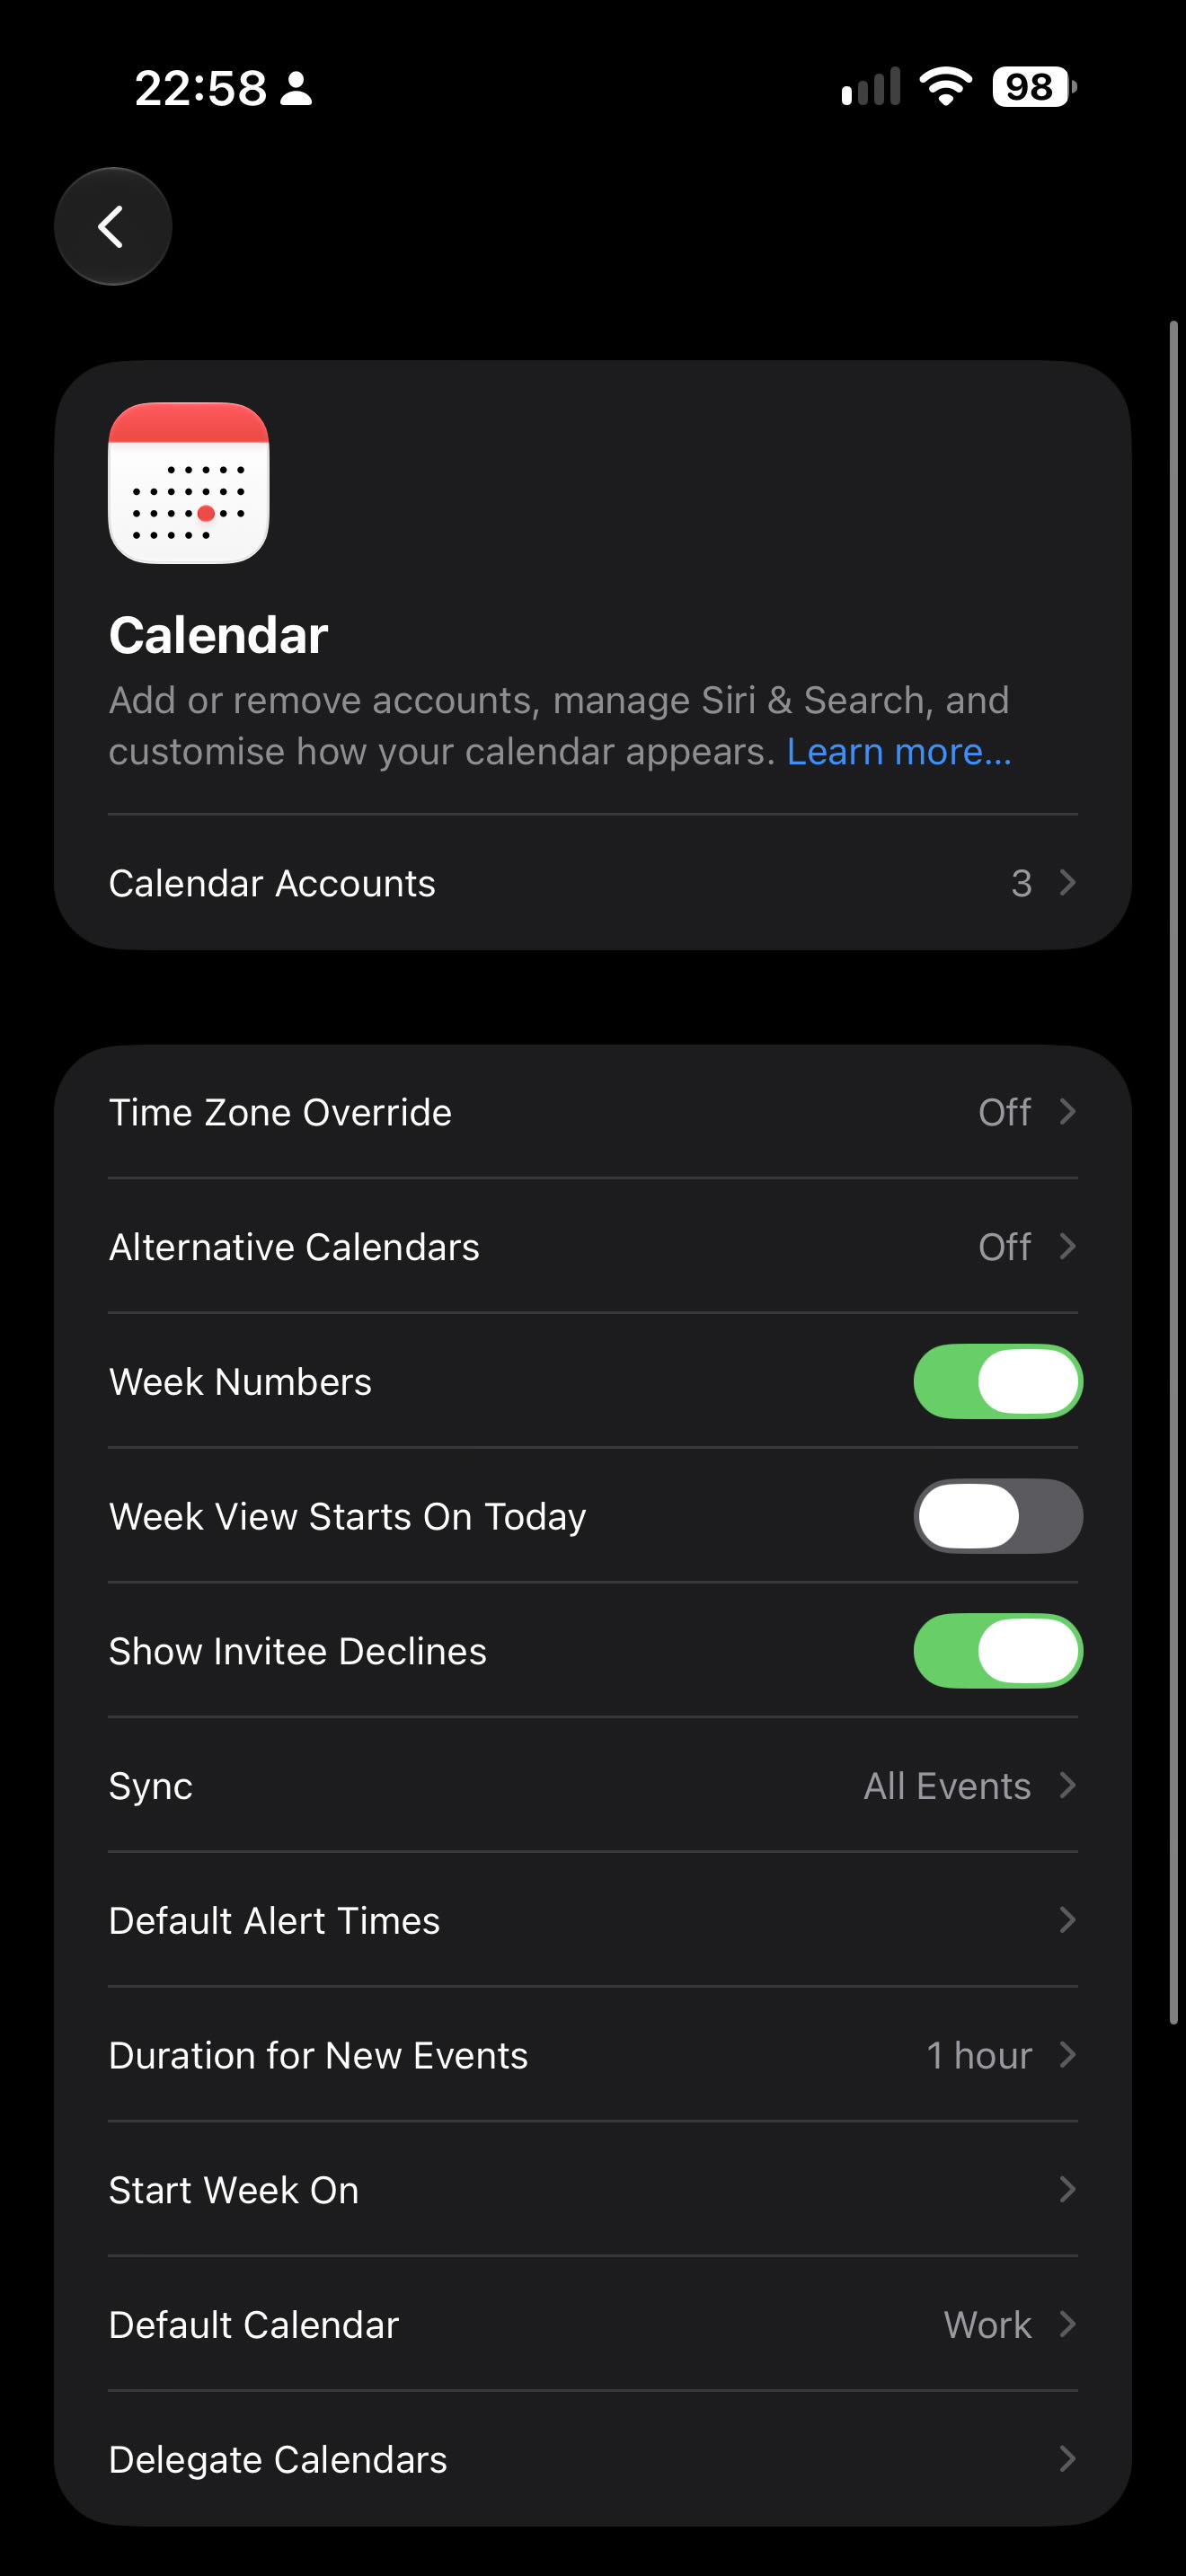
Tap Calendar Accounts.
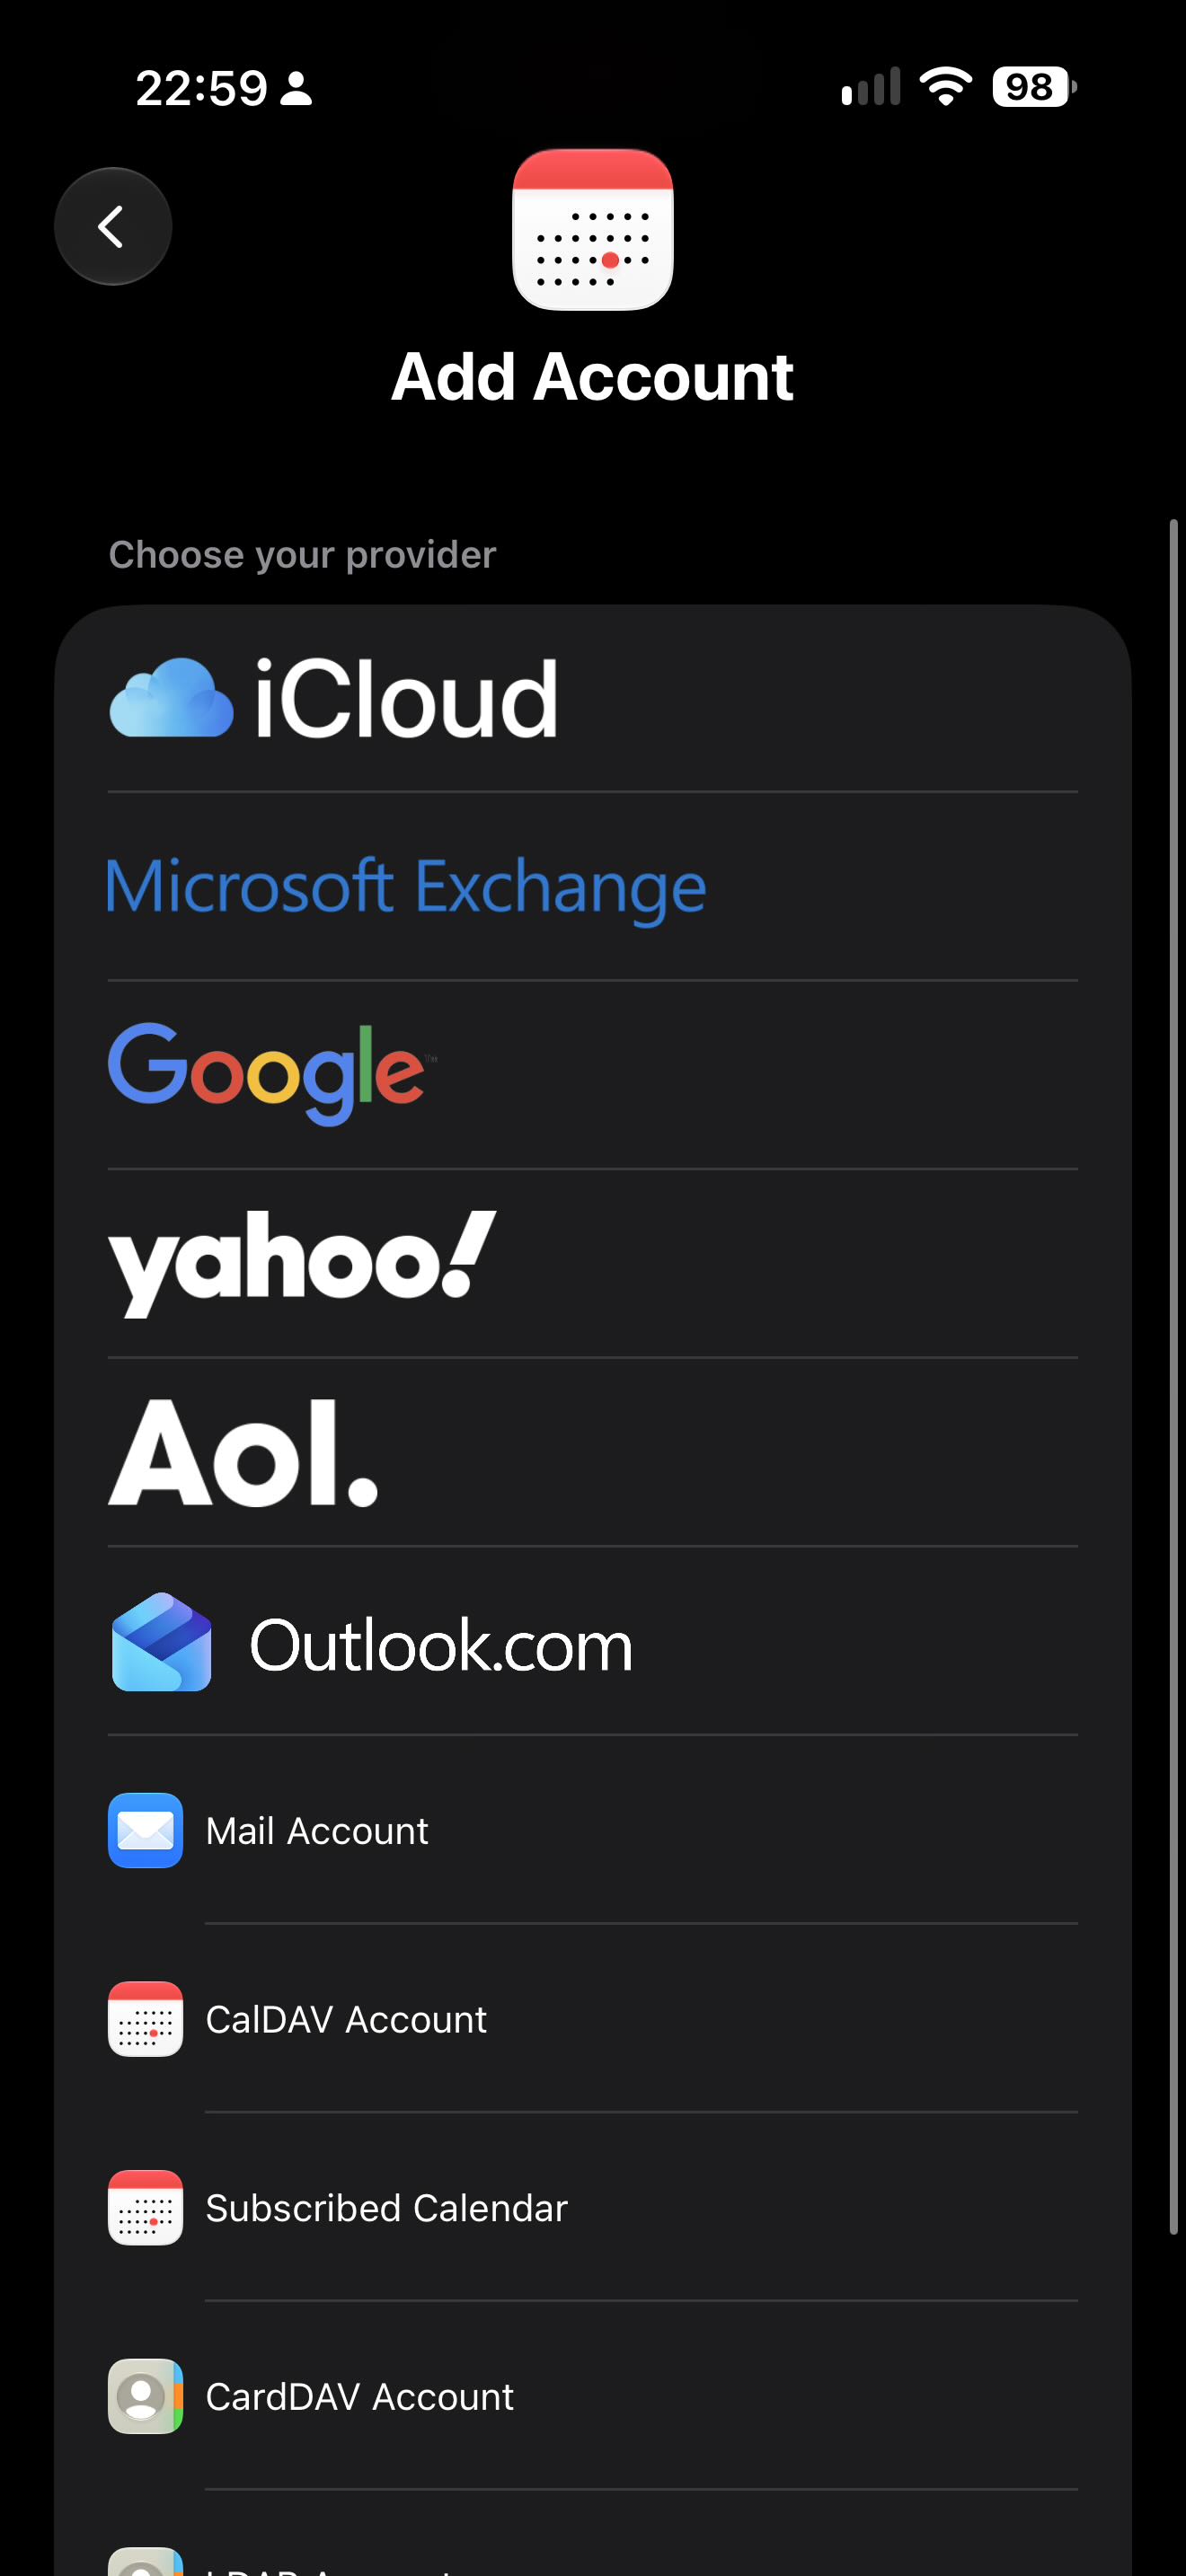
Tap Add Account, then Add Other Account…, and select CalDAV Account.
Use the details shown in your Ticaga dashboard to complete the account form:
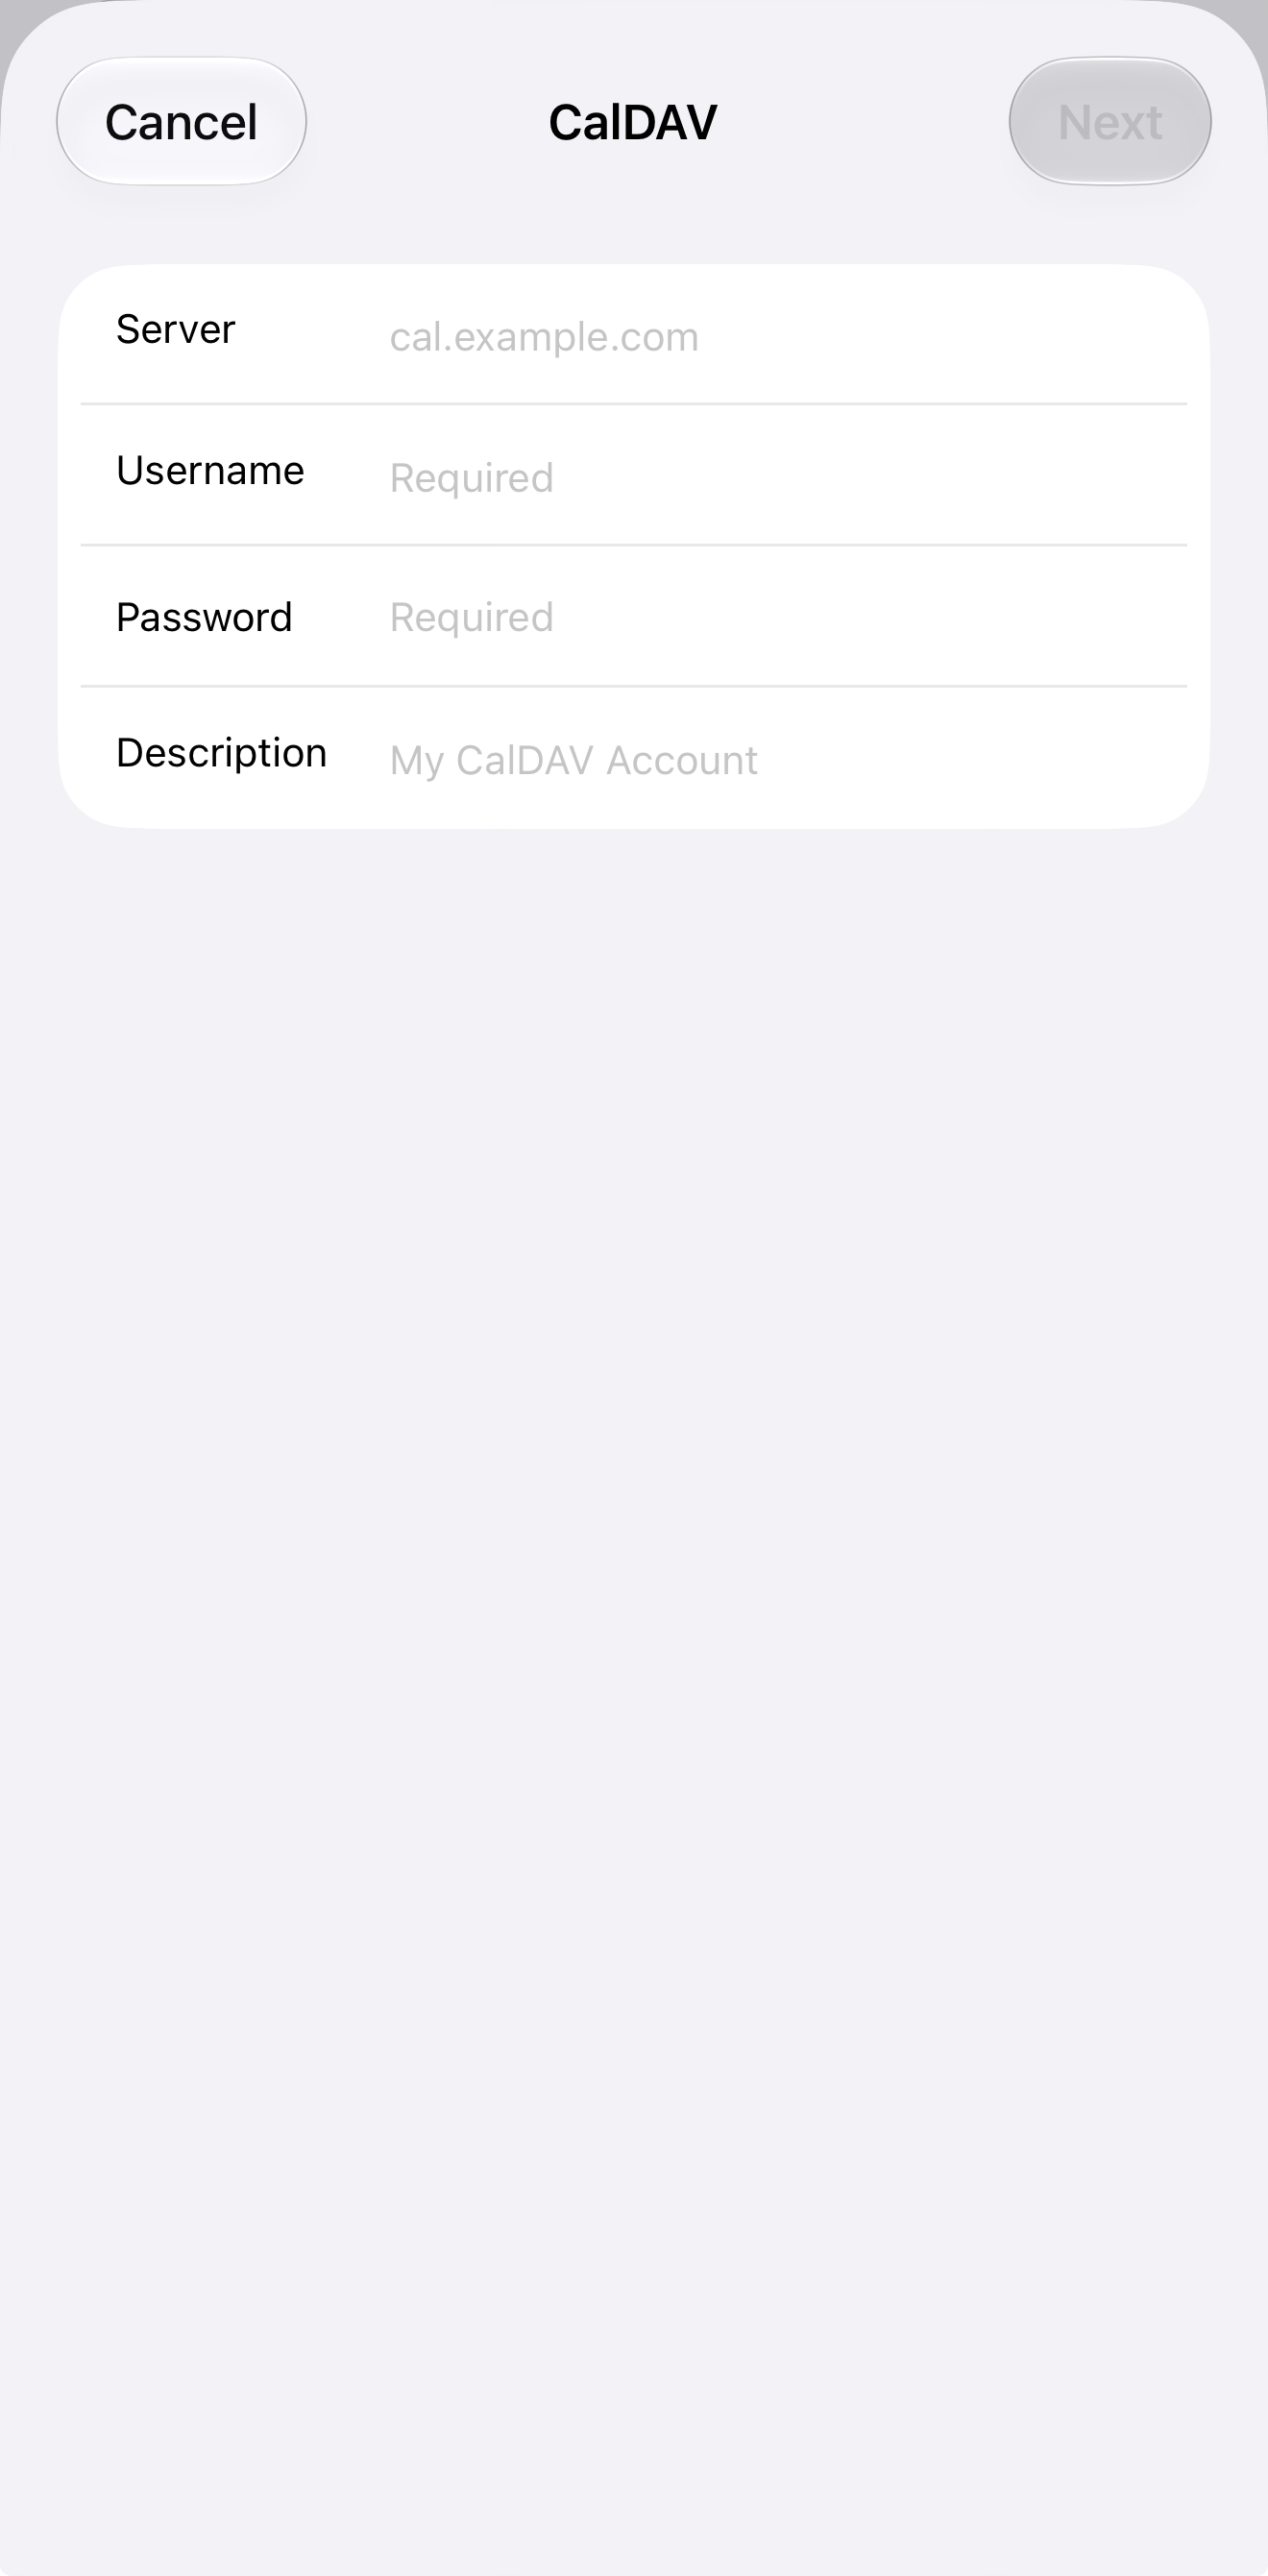
Follow the on-screen prompts to finish adding the account.
Open the Calendar app on your iPhone and tap Calendars. Make sure the Appointments calendar is selected, then tap Done.
Your synced appointments should now appear in the Calendar app.

Author
Michael Dance
My name is Michael and I'm the Owner and founder of Ticaga Ltd.
Feedback loop
Be the first to rate this guide.
Article snapshot
You can automatically close tickets that have been waiting for a customer response for more than two days by configuring the relevant department. O...
This guide explains how to deploy a new Ticaga installation with Docker Compose. The supplied deployment runs the web application, background worker,...
Firstly you want to select Departments on the left hand navigation. You will see this page, we've already created a Sales department. In this...